
Restoration of an old English bench vise
Bench vises meant for hobby or light use are very inexpensive at chain home improvement shops, but the quality of the cast iron used is often low and the castings are very rough. Vises meant for professional use carry a (justifiable) price premium, but the enthusiastic DIYer can look for old high-quality regionally produced vices at yard sales, flea markets or online. The more rusty/cruddy looking they are, the cheaper they get. But because of the girth of the material, even heavy rust is not a showstopper for a good restoration. A old vice with a soul and history and the battle scars to prove it, is to me preferable to a new cheap vice of unproven quality.
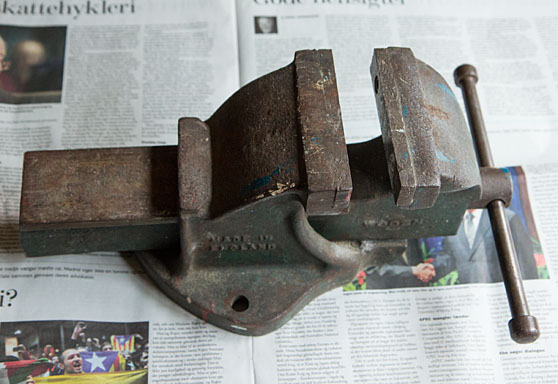
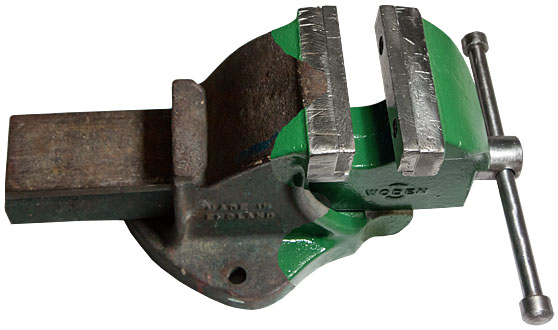
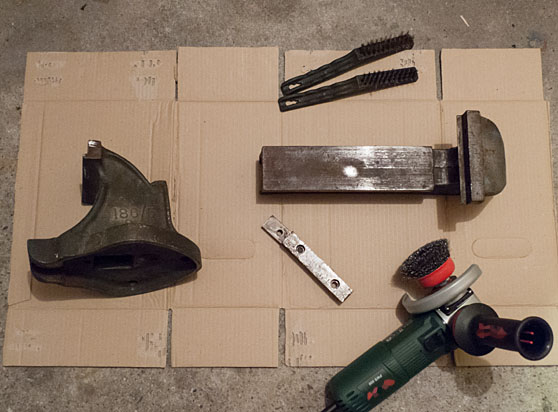
So, here we have it. An old Woden model 186S/5 (~5"/125mm jaws, 31lbs/14kg) from a flea market. The side of the slide says "Steel" even though both the main body and the slide is clearly produced by a casting operation, so I assume it is referring to the metal being malleable iron or ductile iron instead of plain cast iron. If there are any metallurgist out there reading this, please enlighten me.
I found a nice history of the Woden brand on the web. This specific model is the top right under the Woden Steel Vices category.
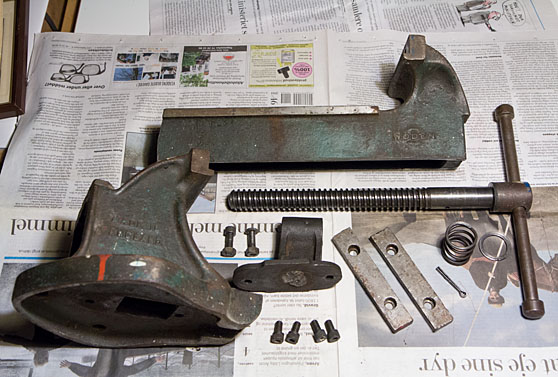
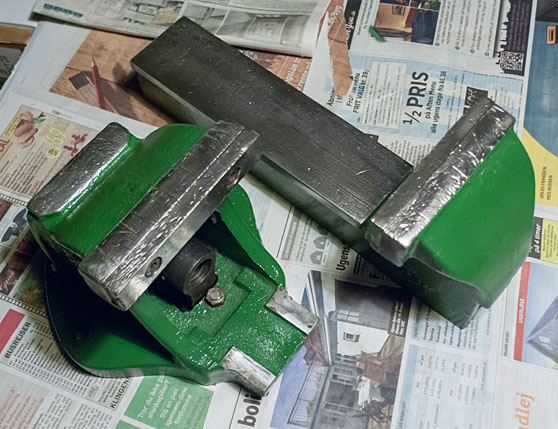
The vise is stripped down and wiped off.
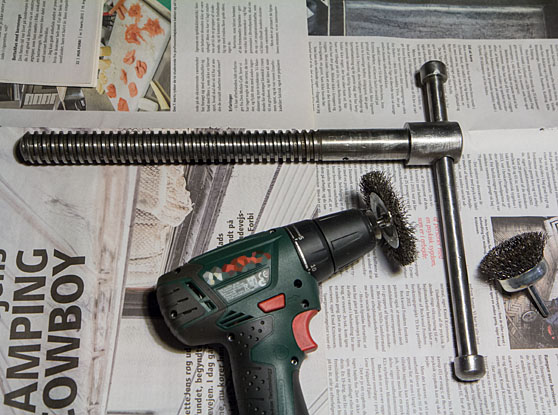
The light rust on the steel handle and leadscrew is removed with a wire wheel on a handheld electric drill. Remember eye protection, these wire wheels will lose a couple of metal strands at supersonic speed during normal operation.
The heavier rust and loose paint is removed with an angle grinder with a wire wheel/cup. Remember eye protection, these wire wheels will lose a couple of metal strands at supersonic speed during normal operation.
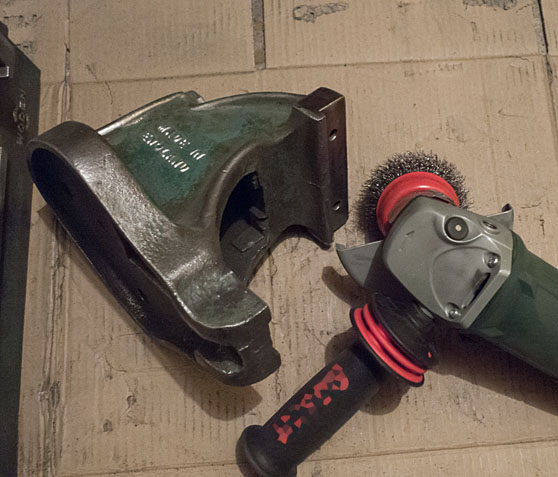
A small diameter cup will reach into pits and corners better than a larger wheel.
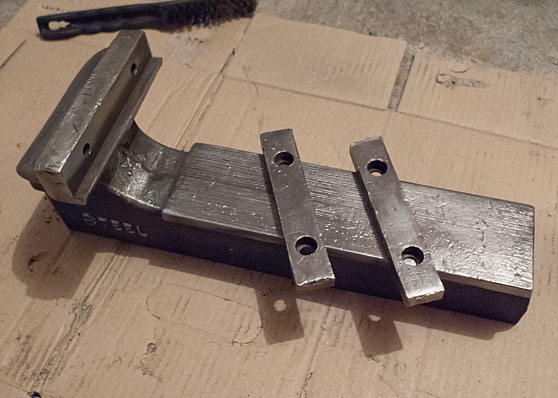
The slide cleaned up nicely with only the wire wheel. For deeper rust, consider rust removal electrolysis.
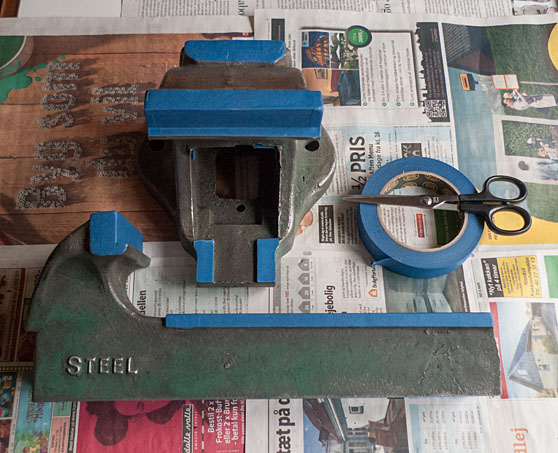
All rust and loose paint is now removed. The parts are wiped off with mineral spirits and the areas not to be painted are masked off with masking tape.
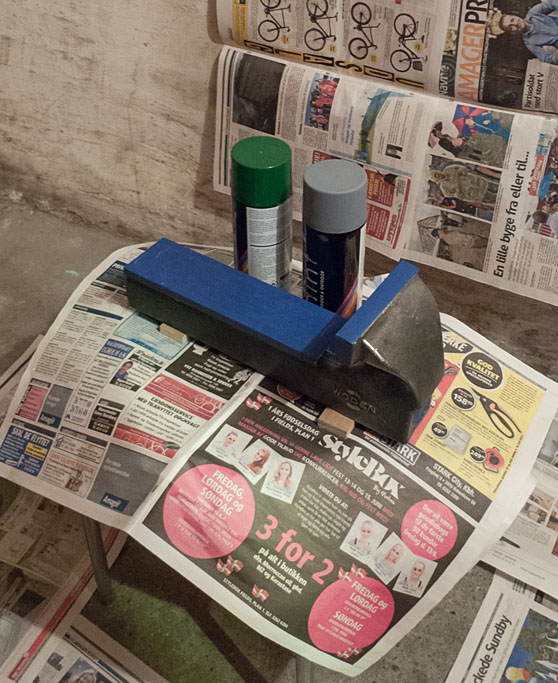
Ready for spray painting.
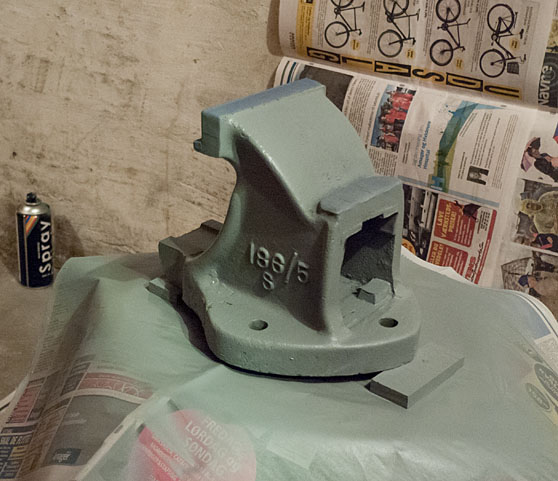
First a layer of primer to ensure good adhesion and to make sure the following coloring is consistent around the part.
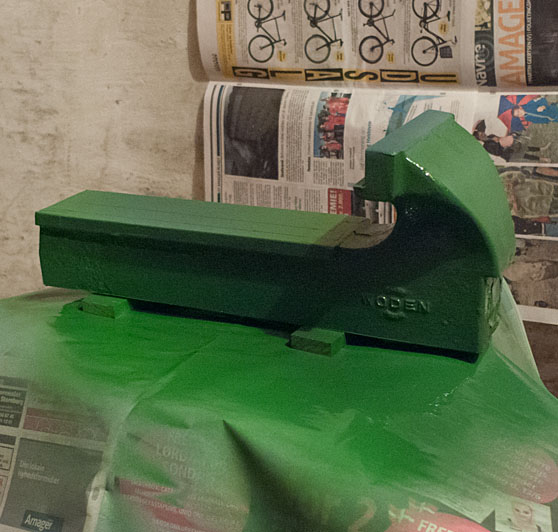
A couple of layers of paint added. Arguably, the color perhaps should have been British Racing Green this being an English vise and all, but this shade of green was what I had.
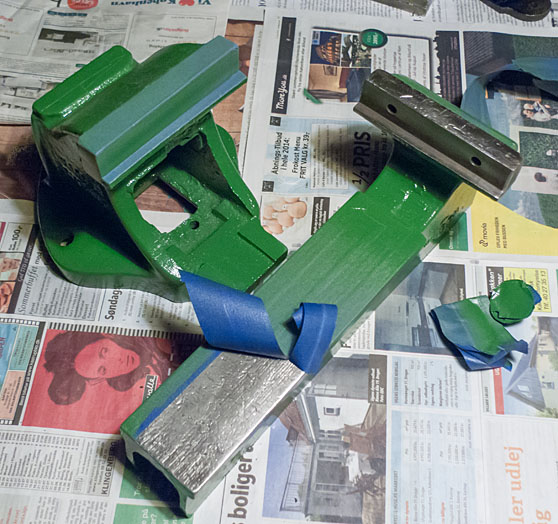
Removing the masking tape.
Final assembly.
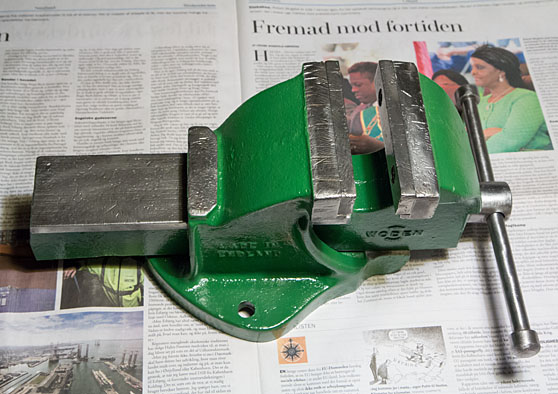
The final result. It is now ready for the next fifty years.
Tags: diy
Page last updated 2016-01-24 11:47. Some rights reserved (CC by 3.0)